The Dressers
As my parents prepare to sell the home I grew up in, they are upgrading, simplifying and purging the old. For this dresser set, it had been a long time coming. They've had them as long as I can remember. I even remember playing on the floor next to them as a kid in our house in Canada close to 30 years ago now. I wouldn't be surprised if they purchased them as their first bedroom set once they were married in the early 70s.
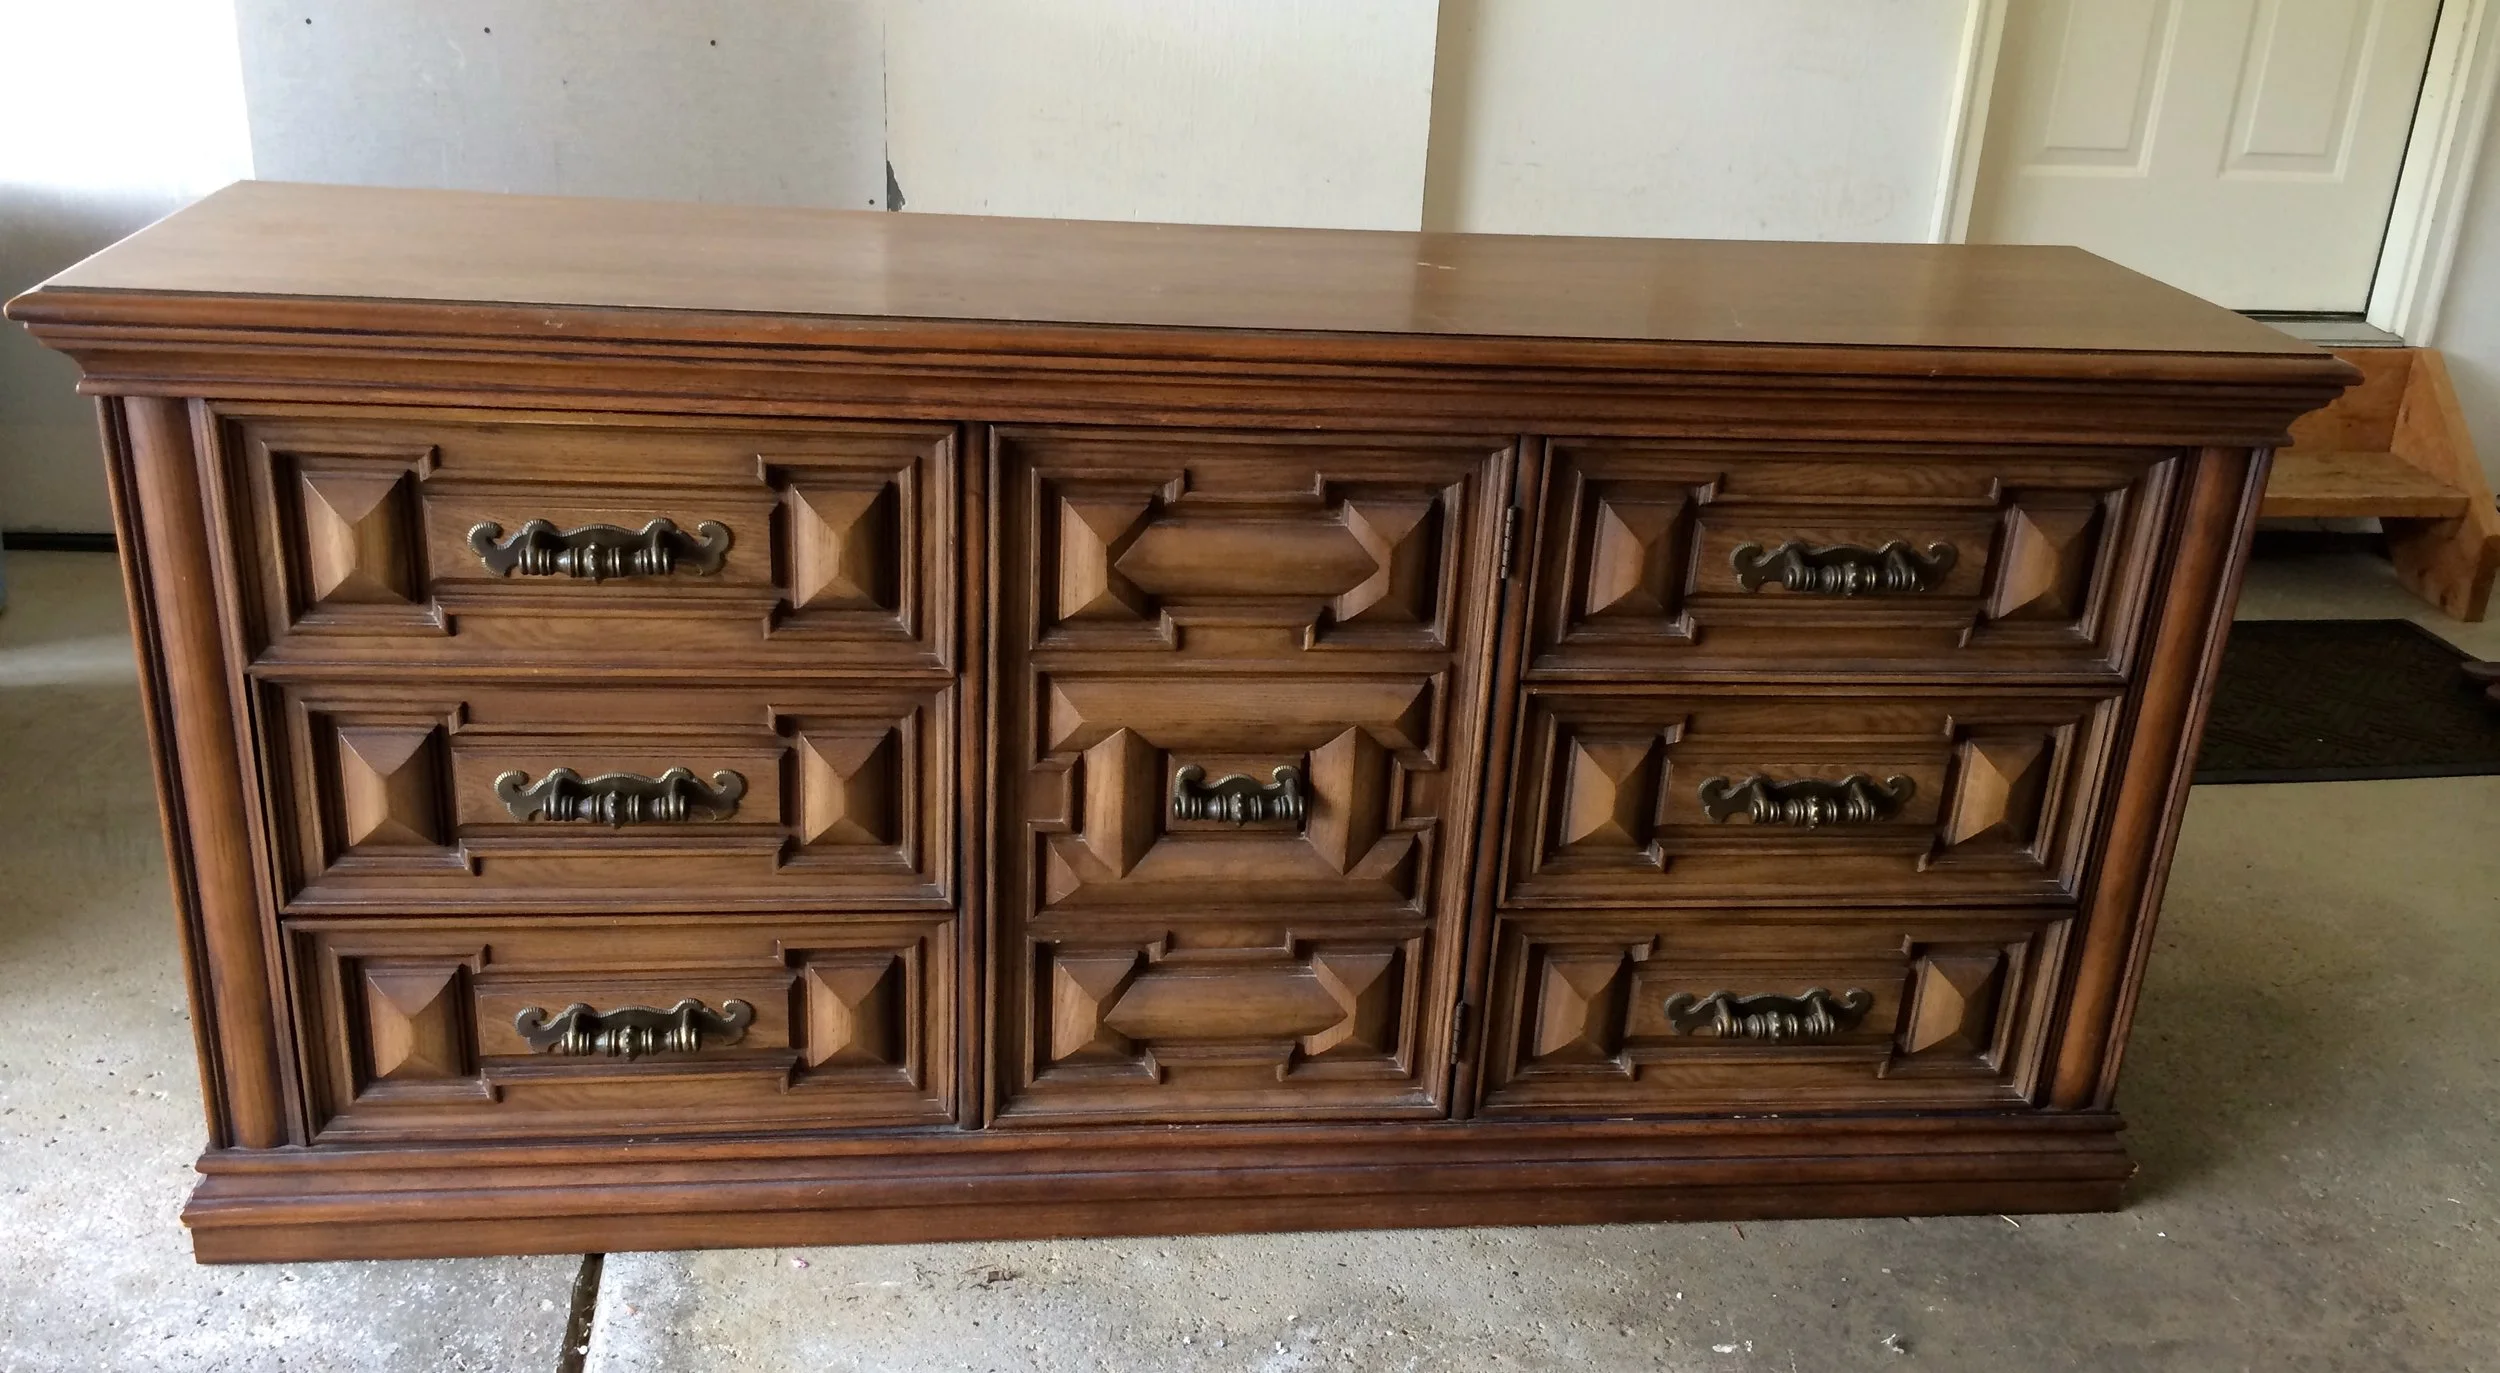
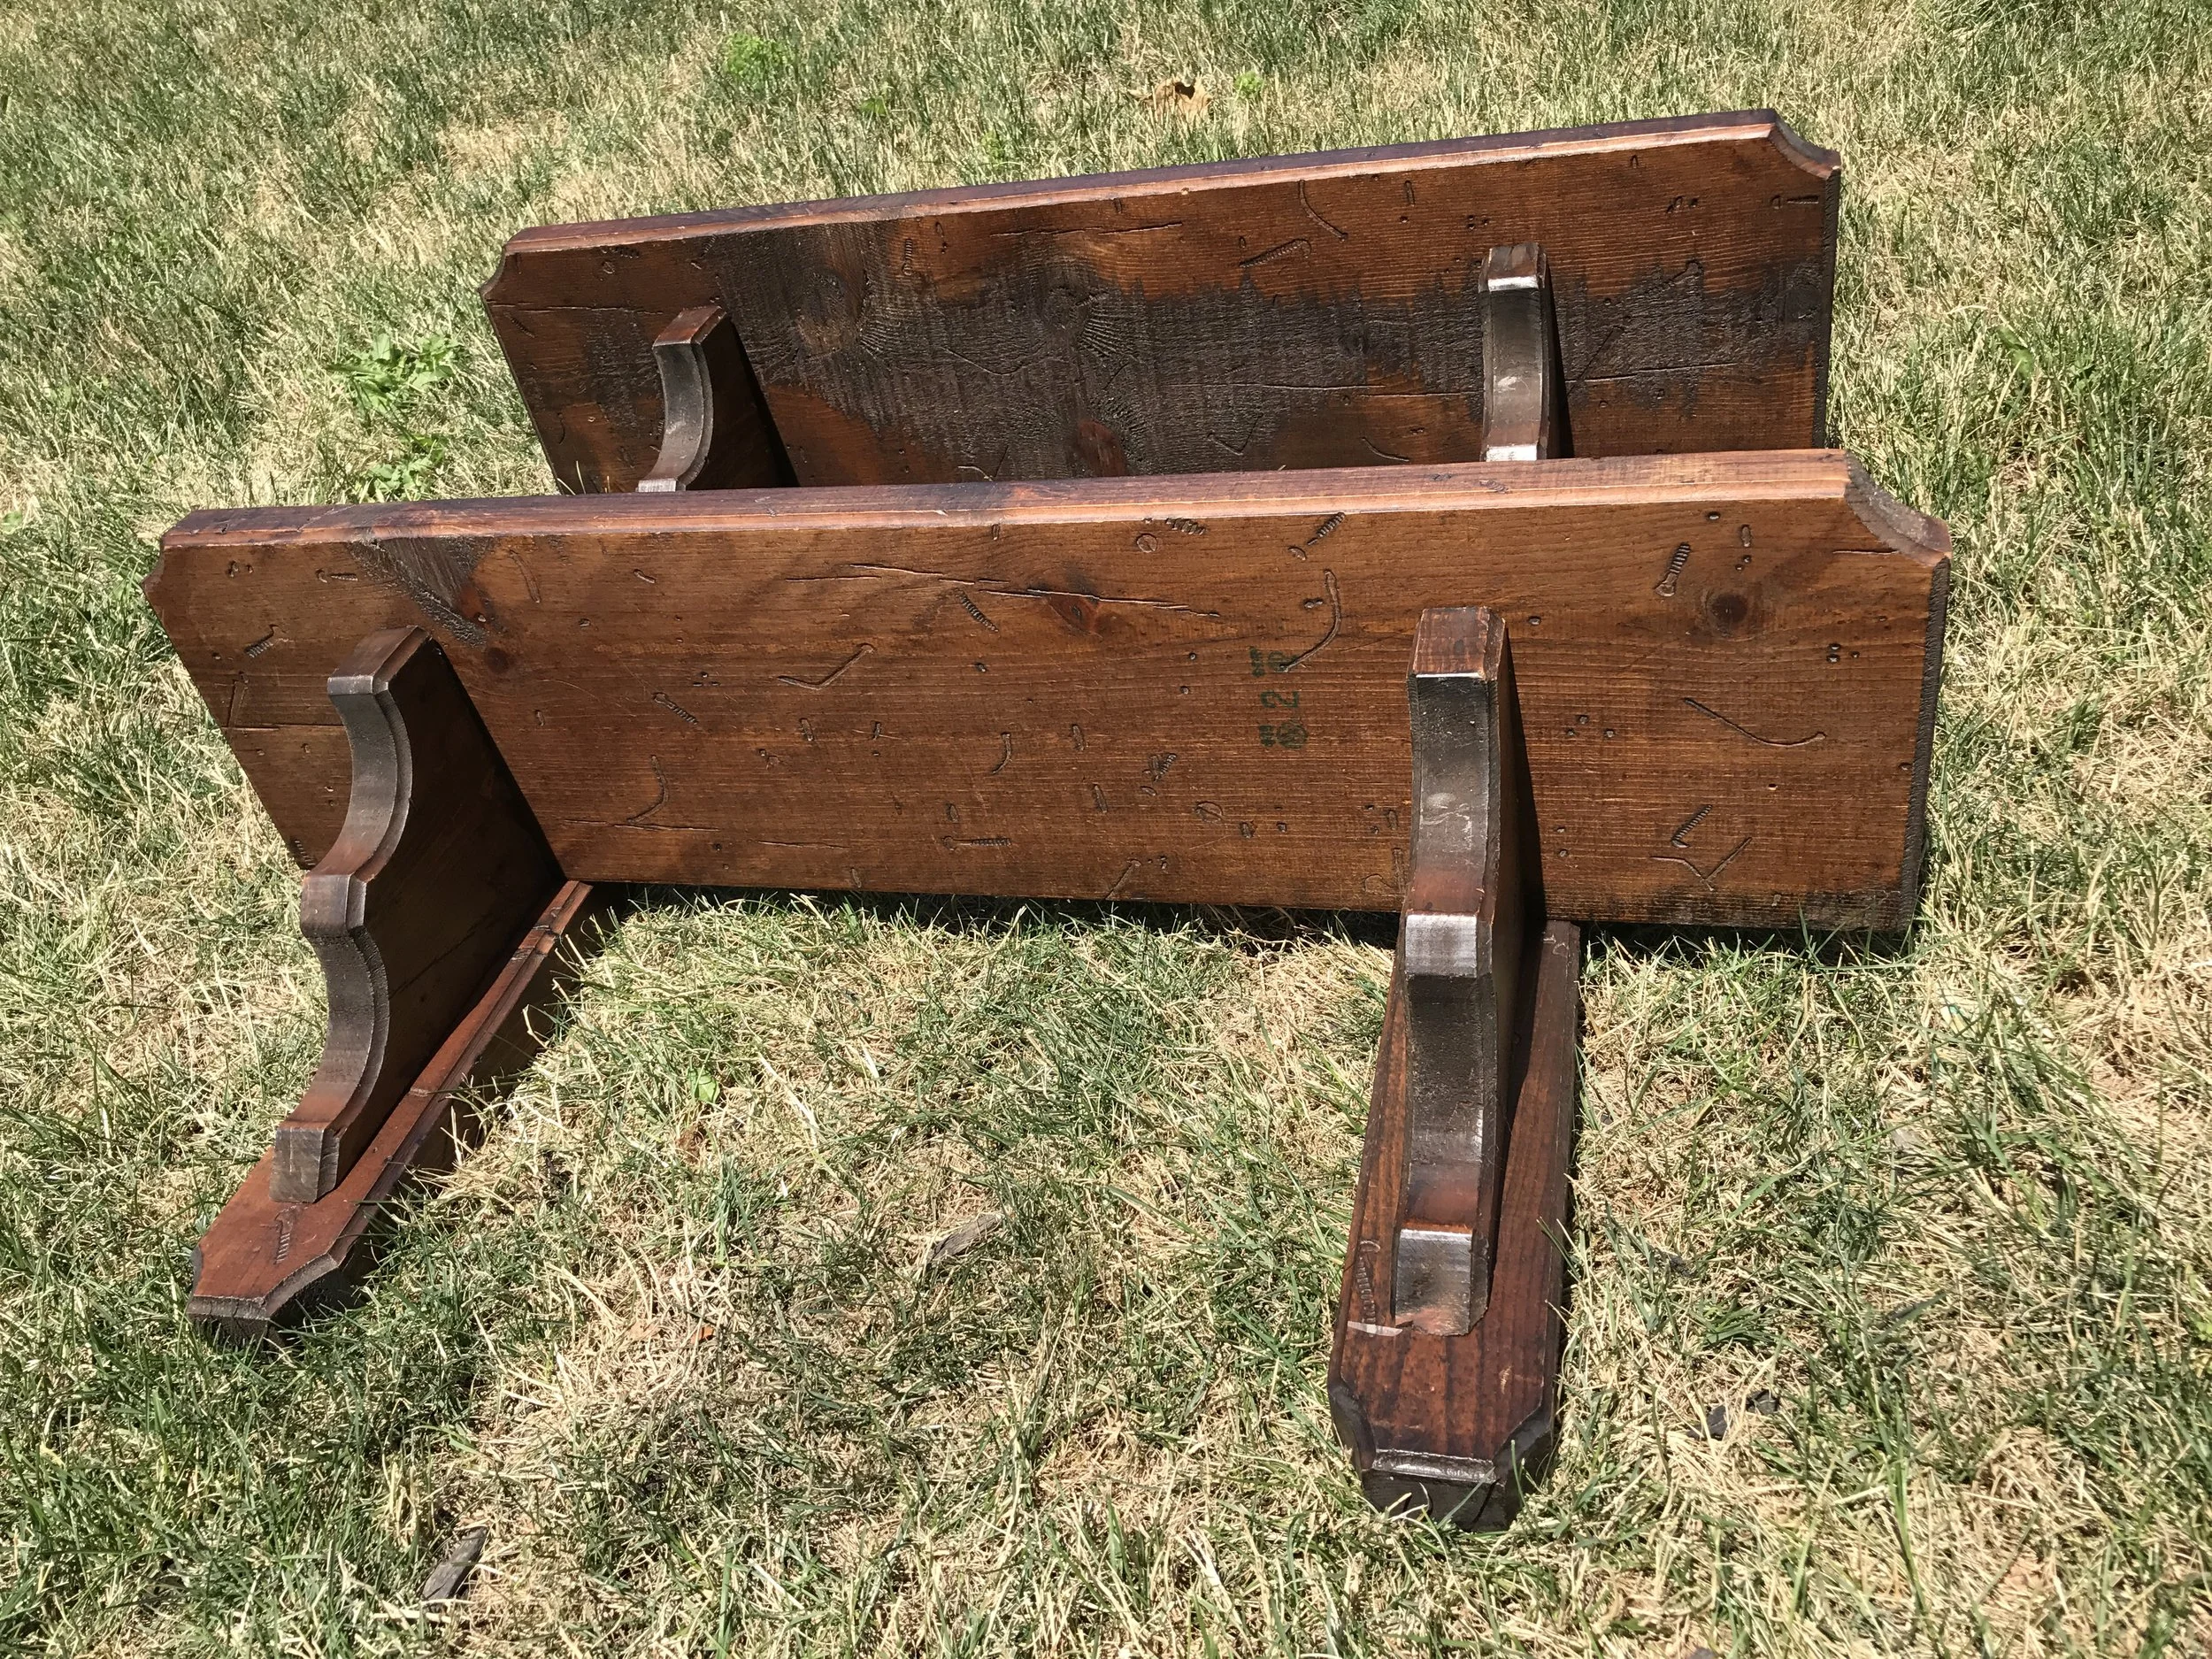
I haven't taken on a project in a while, so when Mom told me they were going to the curb, I jumped on the opportunity to give these 40 year old dressers fresh life. I mean, look at them. They were in desperate need:
Dresser 1
Dresser 2
Step 1. Remove the drawers, door, hinges and hardware.
Hello, bare bones. You're dirty. Time to clean.
Next: Priming and Painting.
As you can see, I started by using spray paint. After a few coats, it covered the dressers well enough but I wasn't entirely happy with the color (it was a bit too yellow for my liking). Plus, on the second dresser, the spray paint wasn't sticking well. I changed tactics and decided to try Annie Sloan Chalk Paint for the first time. Mom caught me in action painting the first coat here...
I also decided to get rid of the drawers on the left and right sides of Dresser 1. Instead I wanted to make them flat shelves that will be left open. In order to do that I had to remove the drawer guides and custom-fit some plywood shelves and clean front edges.
Time for more painting...
Of course then I would decide to add detailed accent paint--I tend to take the complicated approach to just about everything. This decision meant taping all the awful ridges to make sure the lines were pristine. Sometimes I can be far too thorough for my own good. This took FOREVER.
Once that was finished, I moved on to other details. Both the hardware and the top of Dresser 1 got a coating of Hammered Bronze spray paint.
I had originally planned to stain the top of the dresser, but unfortunately the top and sides were both laminate. (A bit of a disappointment, given that the rest of the piece was solid wood.) I had to find a new plan, and hammered metal seemed like a pretty cool detail to bring in.
With all the pieces painted, the final step was to work in a coat of wax to set the chalk paint...
Wax on, Wax off Mr. Miyagi!
After curing for several days, a good friend lent his truck and assistance to get these beasts from my parent's garage to my apartment. (Thanks again, Cory!) Finally, the end was in sight and I could see it all take form in my apartment. This place earns the title of HOME more and more with with every piece. Goodbye boxed cookie-cutter entertainment center from Target. Hello grown-up living room that I can truly call Mine.
Dresser 1 | Before & After
Dresser 2 | Before & After
Goodbye hand-me-down cheap dresser I've had since college. Hello sturdy storage that adds a another personal statement to my dream closet.
Gallery:


